

Introduction
Taking a screenshot (screen capture) on a laptop is a very useful feature for students, office work, online classes, troubleshooting, and saving information. Many people search for:
- How to take screenshot in laptop Windows 10/11?
- How to take screenshot in MacBook?
- Which shortcut key is used for screenshot in laptop?
This guide explains all methods with step-by-step instructions, shortcut keys, and tools.
1. How to Take Screenshot in Laptop (Windows 10/11)
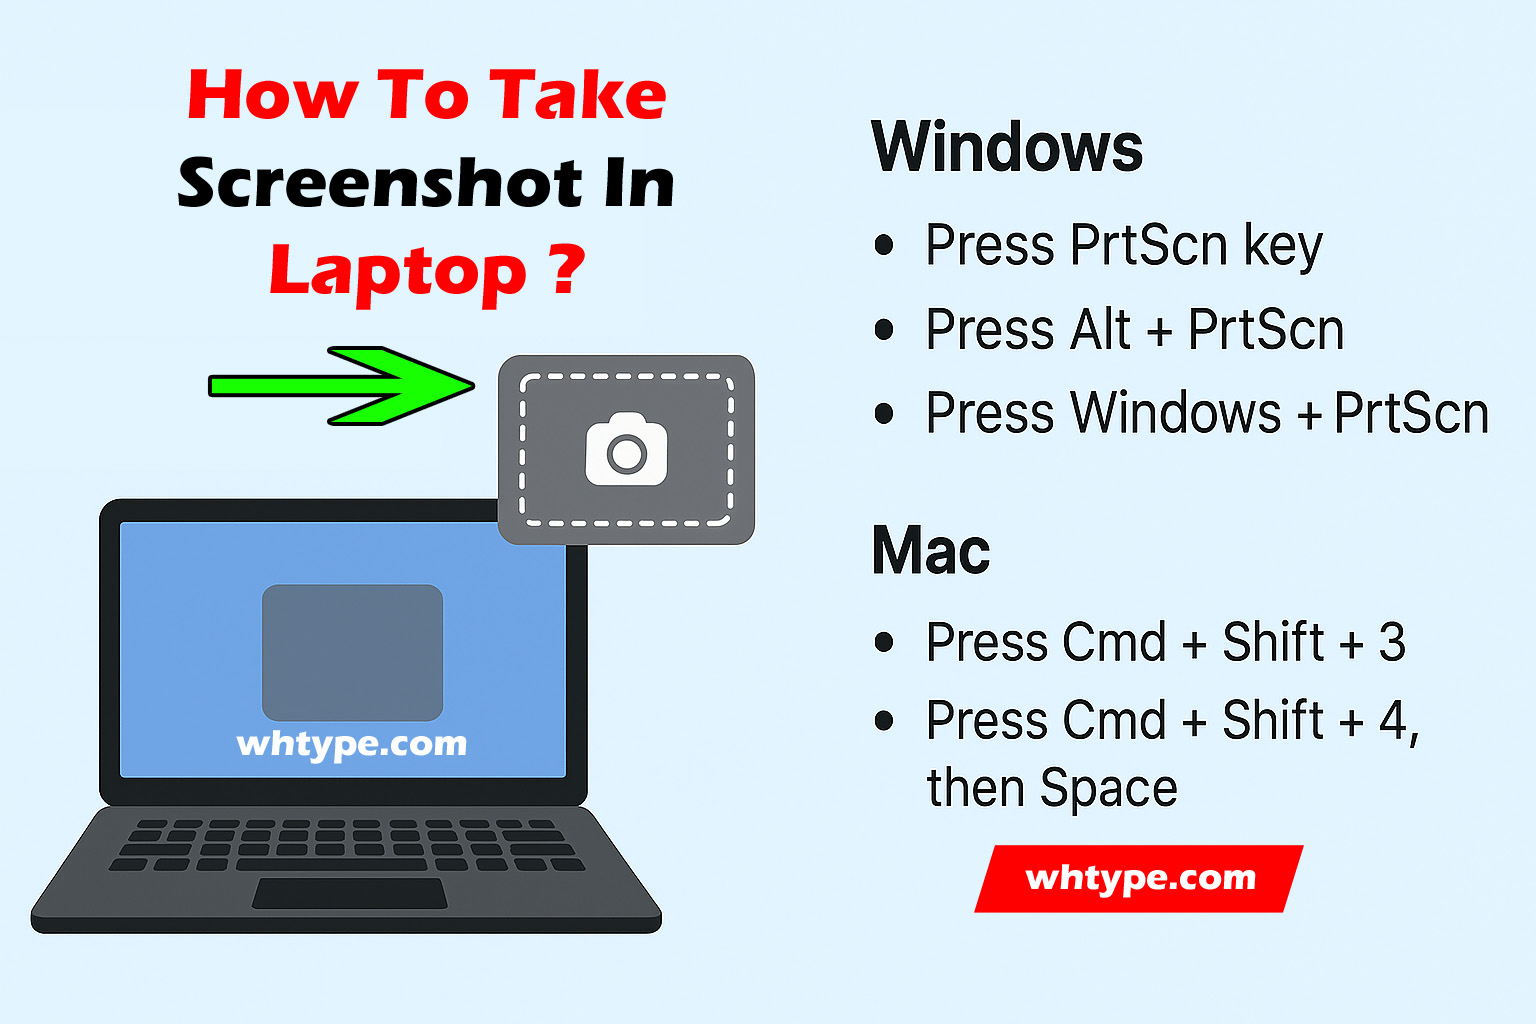
Method 1: Using Print Screen (PrtSc) Key
- Press PrtSc on your keyboard.
- The screenshot will be copied to the clipboard.
- Open Paint / Word / Email → Ctrl + V (Paste).
- Save the file as JPG/PNG.
👉 This captures the entire screen.
Method 2: Alt + Print Screen
- Press Alt + PrtSc.
- This captures only the active window.
- Paste (Ctrl + V) into Paint or Word to save.
Method 3: Windows + Print Screen
- Press Windows + PrtSc together.
- The screen will dim for a moment.
- Screenshot automatically saves in:
Pictures → Screenshots folder.
Method 4: Windows + Shift + S (Snip & Sketch Tool)
- Press Windows + Shift + S.
- The screen will dim, and a small menu will appear.
- Choose: Rectangular Snip, Freeform Snip, Window Snip, or Fullscreen Snip.
- Screenshot is copied to clipboard → Paste anywhere.
👉 Best for custom-sized screenshots.
Method 5: Snipping Tool (Windows Built-in App)
- Search Snipping Tool in Start Menu.
- Open the app → Click New.
- Drag the mouse to select area.
- Save screenshot in desired format.
2. How to Take Screenshot in Laptop (MacBook / macOS)
Method 1: Entire Screen
- Press Command + Shift + 3.
- Screenshot saves on desktop.
Method 2: Selected Area
- Press Command + Shift + 4.
- Drag the cursor to select area.
- Screenshot saves automatically.
Method 3: Specific Window
- Press Command + Shift + 4 → Spacebar.
- Click on window → Screenshot saved.
3. How to Take Screenshot in Laptop Using Third-Party Tools
- Lightshot (Easy editing & instant sharing)
- Greenshot (Lightweight, free)
- Snagit (Professional tool with advanced features)

4. Screenshot Shortcuts for Laptops
| Laptop Type | Shortcut Key | Function |
|---|---|---|
| Windows | PrtSc | Copy entire screen |
| Windows | Alt + PrtSc | Active window only |
| Windows | Win + PrtSc | Save full screen |
| Windows | Win + Shift + S | Snip & Sketch |
| MacBook | Cmd + Shift + 3 | Full screen |
| MacBook | Cmd + Shift + 4 | Select area |
| MacBook | Cmd + Shift + 4 + Space | Specific window |
FAQs on Taking Screenshot in Laptop
Q1. How to take screenshot in HP laptop?
👉 Press PrtSc or Fn + PrtSc (depending on model).
Q2. How to take screenshot in Dell laptop?
👉 Same as above — use PrtSc or Windows + PrtSc.
Q3. Where are screenshots saved in Windows?
👉 By default, in Pictures → Screenshots folder.
Q4. How to take screenshot in Lenovo laptop?
👉 Use Windows + Shift + S or Fn + PrtSc.
Q5. How to edit screenshot after taking it?
👉 Open screenshot in Paint, Snipping Tool, or third-party software.
Conclusion
Taking a screenshot in a laptop is simple, whether you’re using Windows or Mac.
- Windows users: Use PrtSc, Windows + Shift + S, or Snipping Tool.
- Mac users: Use Command + Shift + 3/4.
- Advanced users: Try tools like Lightshot or Snagit.
With these methods, you can capture and save anything on your laptop screen instantly.
Also Read :
- How to delete temporary files in windows 7, 8, 10 and 11?
- How to delete temporary files in Laptop?
- How to delete temporary files in Mobile?

How to Transfer Photos from Phone to PC: Step-by-Step Guide
Learn how to transfer photos from your phone to PC quickly and safely. Step-by-step guide covering USB transfer, wireless transfer, cloud storage, and troubleshooting.
Keep reading
How to Factory Reset an Android Phone: Step-by-Step Guide
Learn how to factory reset an Android phone safely. Complete guide covering backup, methods, precautions, and troubleshooting for all Android devices.
Keep reading
How to Update Drivers on Windows: Step-by-Step Guide
Learn how to update drivers on Windows easily and safely. Complete guide covering manual updates, automatic updates, Device Manager, Windows Update, and troubleshooting.
Keep reading
How to Install Windows 11: Step-by-Step Guide for Beginners
Learn how to install Windows 11 safely on your PC or laptop. Step-by-step guide for fresh installation, upgrade, system requirements, activation, and troubleshooting.
Keep reading
How to Reset a Windows Password – Complete Guide
Learn how to reset your Windows password easily without losing data. Step-by-step guide for Windows 11, 10, and 7. Includes password recovery tips.
Keep reading
How to Calculate Percentage (Formula, Steps, Examples, FAQs)
how to calculate percentage?
Keep reading
How to Convert Rupee into Dollar, Paise, and Words in Excel (Step-by-Step Guide)
Currency conversion and formatting are among the most common requirements in finance, banking, accounting, and Excel usage.
Keep reading
How to Convert Celsius into Kelvin (Formula, Examples & Easy Steps)
Learn how to convert Celsius into Kelvin easily with formula, step-by-step guide, solved examples, and conversion table. Understand Celsius vs Kelvin for exams and science.
Keep reading
How to Convert CGPA into Percentage | Complete Step-by-Step Guide
step by step guide on : how to convert cgpa into percentage
Keep reading


Leave a comment